
Hi there! My name is Hilary and I blog over at Measure Once, Cut Twice. I'm honored to be guest posting on Stuff I Love today while Cat is away on vacation. If you visit my blog, you'll see that I'm pretty much obsessed with all things related to crafting.
I just opened up a new business called Measure Once, Cut Twice {The Shop}. It was created to help those crafters who don't have dye-cut machines {like a Silhouette or Cricut} bring their dreams to reality. We cut personalized images onto adhesive vinyl, card stock, or other specialty media for less than $.04 per sq. in.! Check it out here.
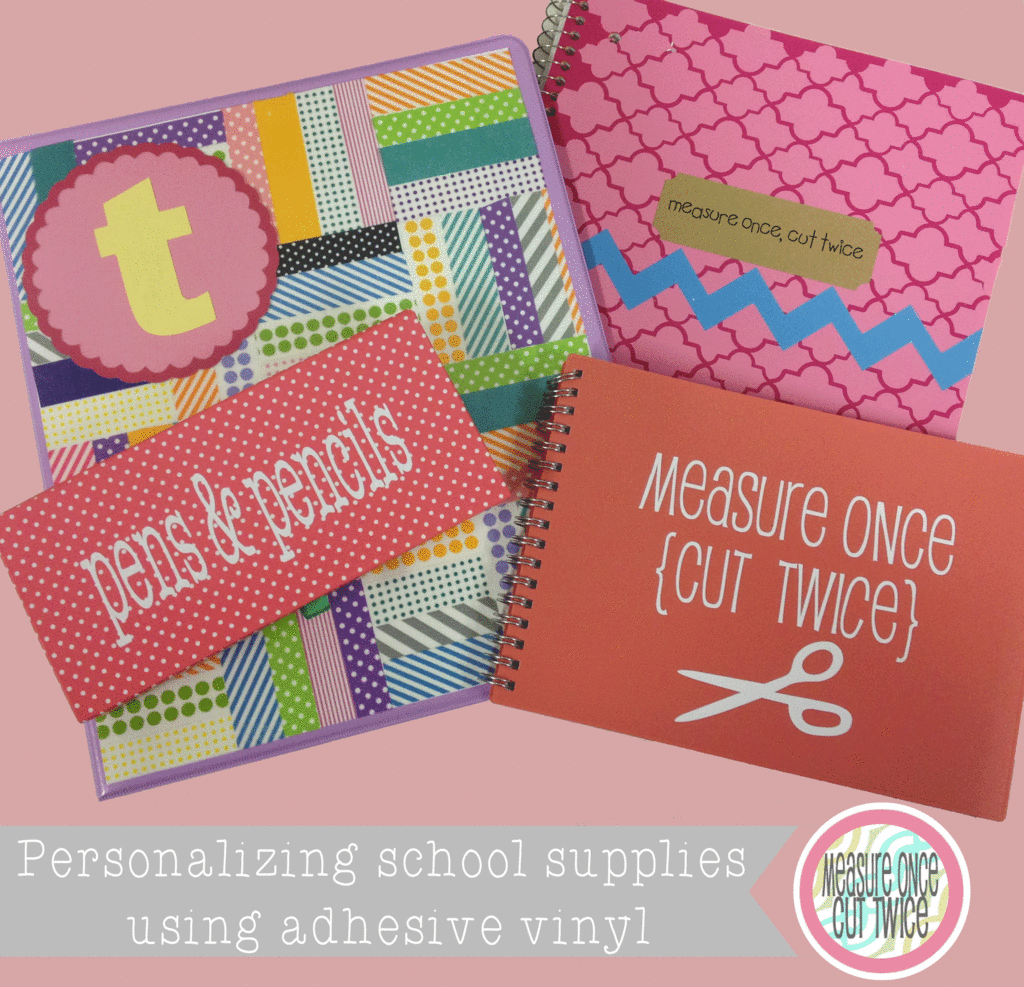
Today I'm going to show you some quick & easy ways to personalize children's school supplies using adhesive vinyl cut using a dye-cut machine.
{P.S. Stick with me, there is a little gift from me to you at the end of this post!}
Personalizing a spiral binder:
Tools
- Spiral binder
- X-ACTO knife
- Adhesive vinyl
- Transfer Paper
- Scraper tool (credit card works)
- Other decorative decals for personalization
Directions
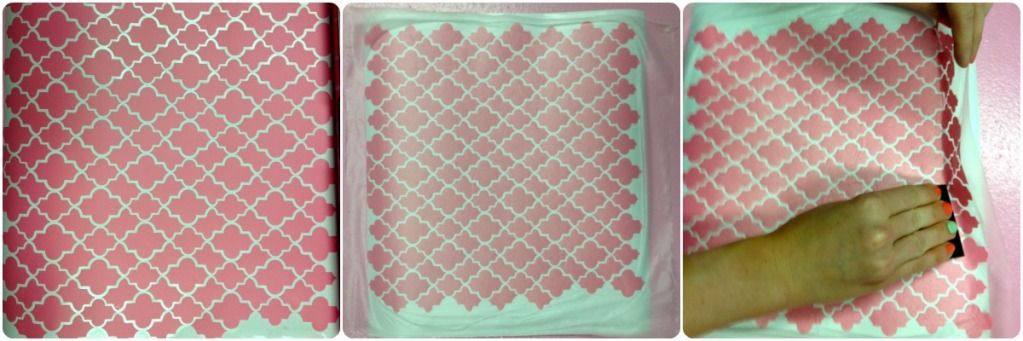
1) Print the pattern you want using a dye-cut machine onto your choice of colored adhesive vinyl.
2) Apply transfer paper to the vinyl and use the scraper to make sure the transfer paper is completely attached to the top of the vinyl.
3) Carefully begin peeling off the vinyl. Use your scraper tool to guide the vinyl as it comes off. Make sure there are no pieces left behind!
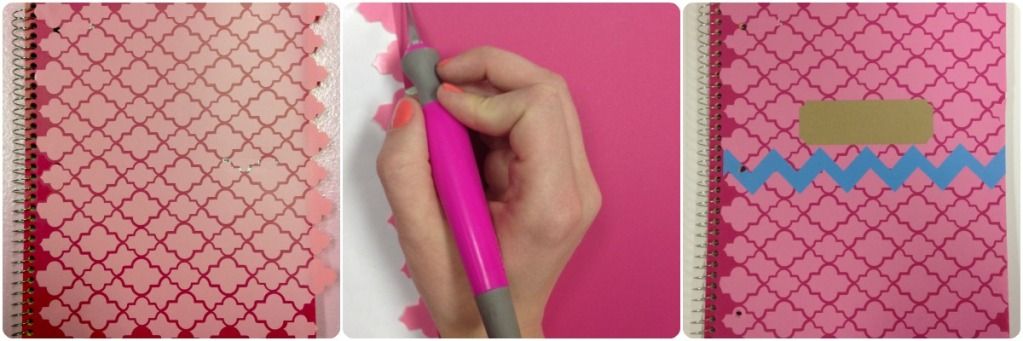
4) Apply your vinyl to the top of the spiral binder.
5) Use an X-ACTO knife to cut off any extra pieces from the edges.
6) Add other details. I added a piece of blue adhesive vinyl and a brown label so that I could label the binder with my name.
Personalizing a clear front covered binder:
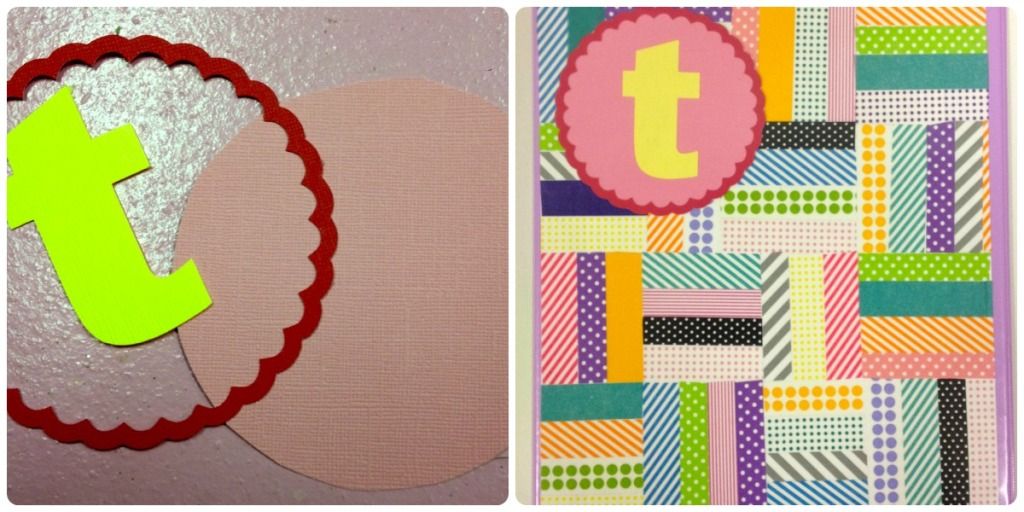
Tools
- White copy paper
- Washi tape (multiple colors)
- Scissors
- X-ACTO knife
- Other decorative decals for personalization
Directions
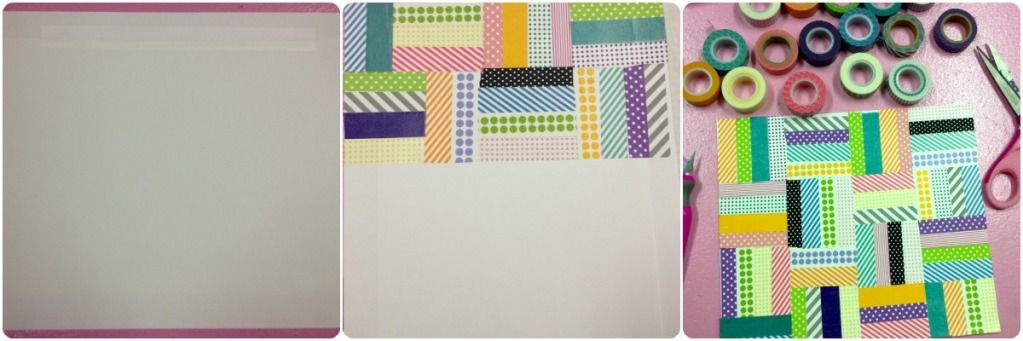
1) Start by measuring out how wide your clear front covered binder is. Mine was a little bit wider than a standard 8.5" x 11" piece of copy paper, so I taped two pieces of paper together to make it wider.
2) Once you know how much space you need to cover, start applying your Washi tape in any pattern you want. It would have been MUCH easier if I just ran lines across the whole piece of paper, but instead I chose to take this patchwork design on. Use your scissors and X-ACTO knife to keep your lines straight.
3) After your whole piece of paper is covered in Washi tape, personalize it with your child's name or initials. I cut a circle, border and the letter "t" out using my dye-cut machine. I used a glue stick to attach the pieces together. You can use pre-made letter stickers, or ask me for some personalization of your own!
4) Slide your piece of Washi covered paper into the clear front cover of the binder and you're done!
Personalizing day planners & pencil boxes:
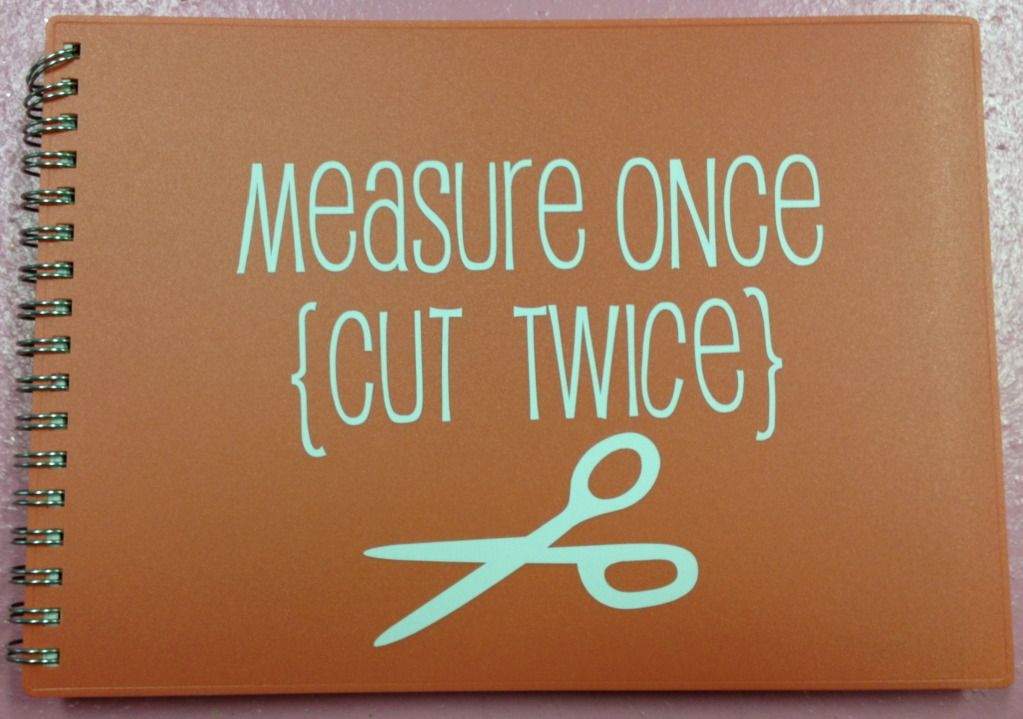
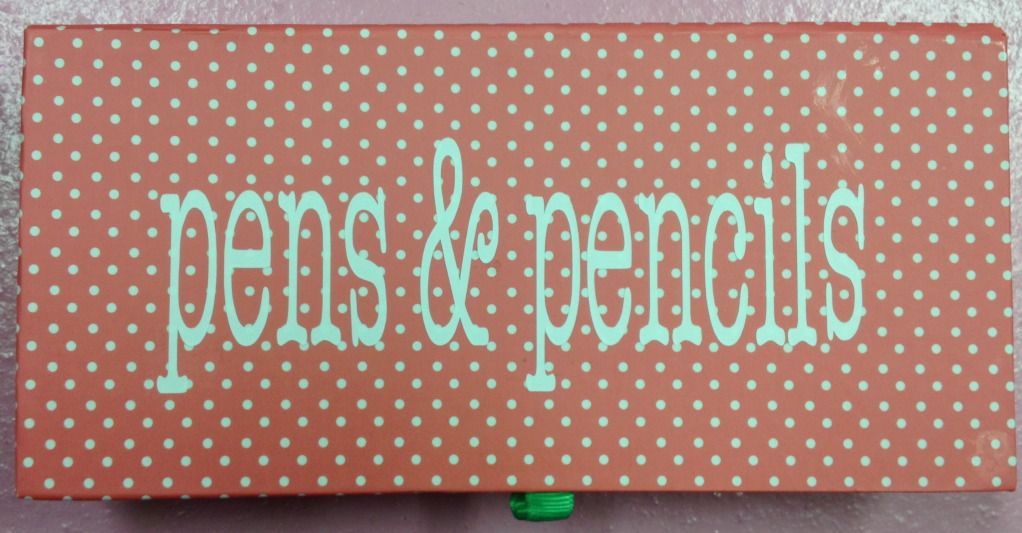
I found this day planner and pencil box at Target. The pencil box is from the dollar section and is supposed to hold money for a lemonade stand, but it works!
All I did to decorate these items was print out some words on my dye-cut machine and applied them using transfer paper.
Now for my present to you!
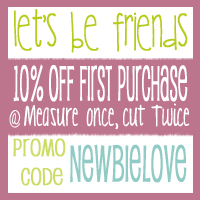
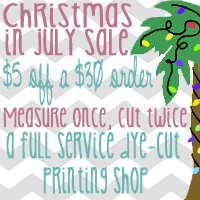
My goal today was to inspire you to decorate plain ol' school supplies using adhesive vinyl. If you don'y have a dye-cut machine, this entire post usually would be totally pointless for you. NOT ANYMORE!! Come visit me over at Measure Once, Cut Twice {The Shop} and I'll print off any 12" x 12" sheet of vinyl you want for only $4.50 per sheet (or only $.03 per sq. inch!).
Not only can you get $5 off a $30 purchase through July 31st, but you'll get 10% off your first purchase AND you can use promo code: StuffILove to get an extra 10% off!! That makes it totally worth stopping by, right?
Thanks for getting through this extra long post today. Be sure to come back and visit Cat daily to keep up with her amazing blog! Oh, and please stop by Measure Once, Cut Twice and say hi. I'd love to meet you :)

These are so cute! Feel free to link them up to Favorite Product Fridays!
ReplyDeleteJulie @ Naptime Review
Love the patchwork washi tape design!
ReplyDelete